
Imagine the oven timer going off and the smell of warm, dark chocolate filling your home. You take a bite and it’s gooey in the middle and crispy on top. These are the brownies you’ll always remember.
Whether you used a boxed mix or a family recipe, you want a reliable brownie recipe. One that’s easy to make and always turns out right.
Table of Contents
This recipe is the best for homemade brownies that outdo mixes. You mix everything in one saucepan, which means less cleanup. Use high-quality cocoa powder like Hershey’s or Ghirardelli for the best flavor.
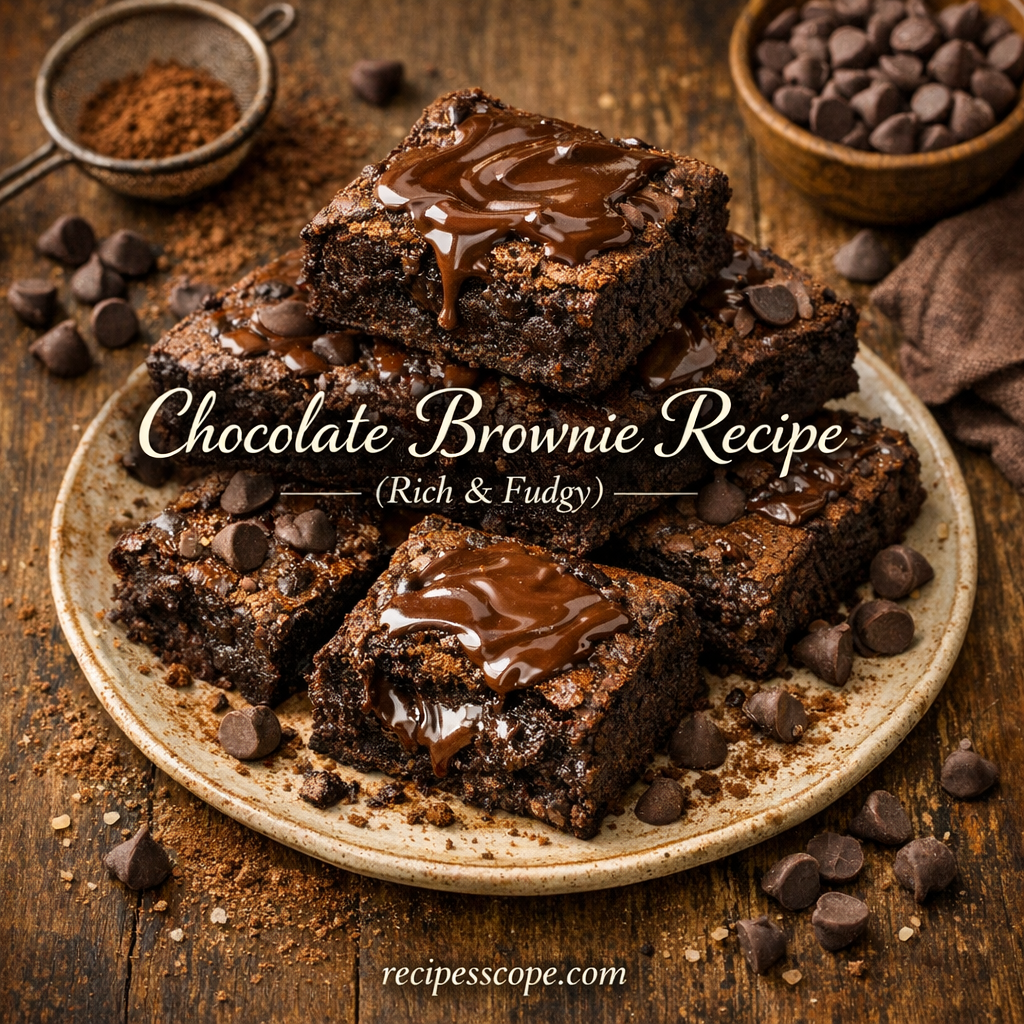
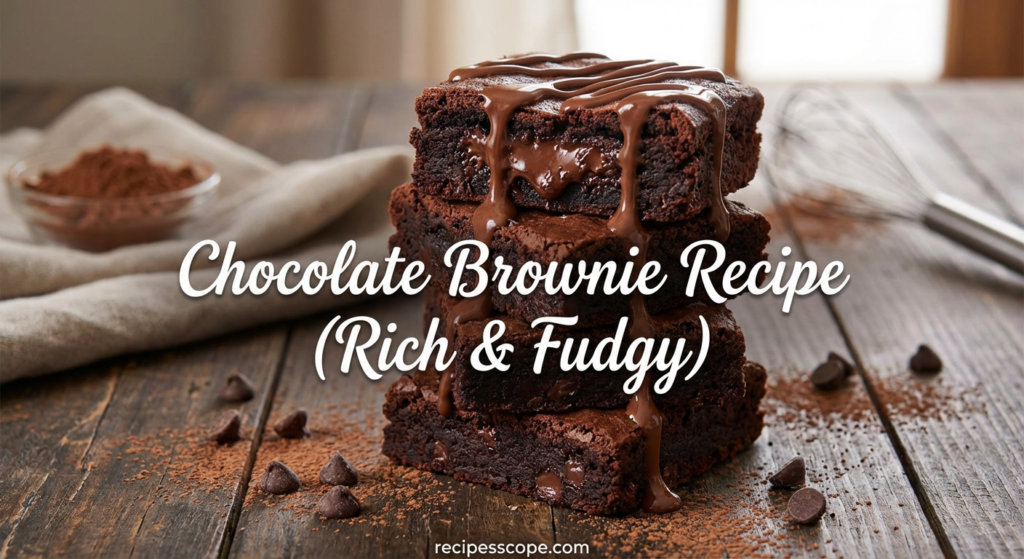
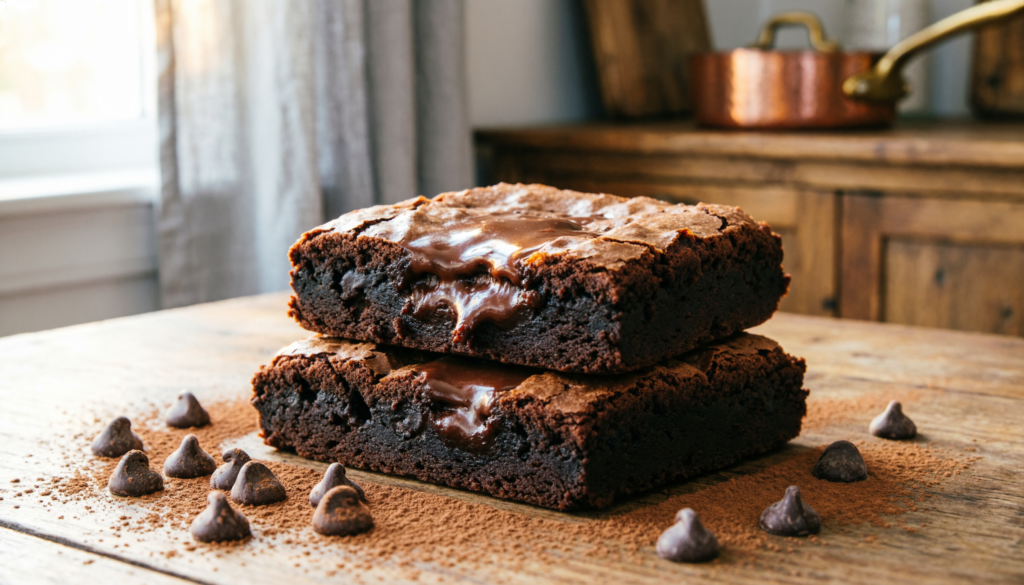
These brownies will have fudgy centers, chewy edges, and a shiny top. They’re perfect for any chocolate lover. The recipe calls for 10 tablespoons of butter, 1 1/4 cups of sugar, and 3/4 cup of cocoa powder. Plus, 2 large eggs and 1/2 cup of flour for the right balance.
Bake them in an 8-inch metal pan. Take them out when the edges are set but the center is a bit soft. Let them cool before you slice them for the best texture.
Key Takeaways
- This easy brownie recipe yields fudgy middles and a shiny, crinkly top.
- Melt in your saucepan to cut down on dishes and keep the batter warm for glossy crust.
- Use natural cocoa like Hershey’s or Ghirardelli for classic chocolate flavor.
- Measure with a scale or spoon-and-level for consistent homemade chocolate brownies.
- Bake until edges are set and center is slightly underdone; cool before slicing for best texture.
Why this is the best brownie recipe for fudgy, chewy results
You want brownies that are dense and chocolatey in the center. They should have slightly chewy edges. This recipe uses melted chocolate, butter, and a little flour. This keeps the brownies rich and prevents them from becoming cakey.
What makes a brownie fudgy versus cakey
Fudgy brownies have a lot of fat and melted chocolate. Cakey brownies have more flour and leavening. This makes fudgy brownies dense and chewy.
Key texture goals: fudgy middle, chewy edges, shiny crinkly top
For fudgy brownies, aim for a moist center and chewy edges. A shiny top is also important. Brown and white sugar add chewiness, while less flour keeps the middle dense. Whisking sugar into eggs makes the top shiny.
Evidence from recipe testing and reader feedback
Testing shows melted chocolate and butter make great brownies. With half a cup of flour for an 8-inch batch, results are consistent. Readers love this recipe, giving it a 4.9 average rating. They praise the fudgy middle and crinkly top.
| Element | Technique | Result |
|---|---|---|
| Fat-to-flour ratio | Use melted chocolate + generous butter, reduce flour | Dense, fudgy brownies with melt-in-mouth center |
| Sugar mix | Combine granulated and brown sugar; whisk into eggs | Shiny, crinkly top and added chewiness |
| Baking cues | Bake until edges set; center slightly soft; toothpick with moist crumbs | Chewy edges, fudgy middle, reliably consistent |
| Portioning | 8-inch pan with ~1/2 cup flour for base recipe | Best balance for homemade chocolate brownies that please crowds |
Chocolate Brownies
Choosing the right chocolate can change your brownies’ taste. Cocoa powder gives a classic chocolate flavor. Melted chocolate adds cocoa butter, making them richer and fudgier.
Primary flavor drivers: cocoa powder vs. melted chocolate
Cocoa powder uses pure cocoa solids for a strong, dry chocolate taste. Natural cocoa, like Hershey’s or Ghirardelli, has a bright and slightly acidic flavor. Dutch-processed cocoa softens acidity and flavor.
Melted chocolate adds cocoa butter. This makes the batter silkier and the brownies denser and fudgier. Melting semi-sweet chocolate with butter creates a glossy crust and a tender inside.
Choosing between bittersweet, semi-sweet, and milk chocolate
Bittersweet chocolate, with 60–70% cocoa, makes the brownies less sweet. Brands like Lindt or couverture callets are great for intense flavors. Semi-sweet chocolate makes sweeter, more popular bars. Baking bars like Ghirardelli melt well and balance sweetness and bitterness.
Avoid milk chocolate for deep, fudgy brownies. Milk chocolate has more sugar and dairy, less cocoa, thinning the flavor and reducing chocolate intensity.
How chocolate type affects sweetness, depth, and texture
Melted chocolate adds cocoa butter, making the brownies richer and chewier. Recipes with melted bars have a softer, fudgier bite. Cocoa powder changes the structure, adding solids without fat, so you might need more butter or sugar to get the right chew and sheen.
For less sweetness and deeper flavor, choose bittersweet chocolate. Semi-sweet chocolate is better for a balanced dessert. Mixing cocoa powder with melted chocolate gives you both classic flavor and a glossy, fudgy texture.
Essential ingredients for the best homemade chocolate brownies
To make the best brownies, you need a few key ingredients. Choose quality items and measure them carefully. This way, you avoid dry or cakey results. Here’s how to pick the right cocoa, butter, sugars, eggs, and flour for perfect brownies every time.
Cocoa powder: natural vs. Dutch-processed
Cocoa powder is key for that classic chocolate taste. Natural cocoa from brands like Ghirardelli or Hershey’s adds a bright, slightly acidic flavor. Dutch-processed cocoa, on the other hand, has a milder taste that goes well with darker chocolate. Use about 3/4 cup plus 2 tbsp (75g) for a deep chocolate flavor.
Butter: why 100% butter gives the best mouthfeel
Choose 100% butter, unsalted for full control over flavor. Butter makes brownies rich and has a smooth mouthfeel that margarine can’t match. Melt it gently with chocolate or warm it on the stove to dissolve sugar and create a glossy batter.
Sugar choices: granulated for shiny top, brown sugar for chewiness
Granulated sugar makes the top shiny when mixed with eggs. Brown sugar adds moisture and chewiness through its molasses content. Many recipes use both for a shiny top and chewy edges. Stick to the recommended amounts for the right texture.
Eggs and their role in structure and shine
Eggs give structure, lift, and a glossy crust. Use the number of eggs the recipe calls for. Some recipes use four eggs for a dense, stable set. Cold eggs can work in some methods, but beating sugar and eggs until glossy is key.
Flour amount: why less flour gives extra fudgy brownies
Less flour means fudgier brownies. Aim for about 1/2 cup (65g) of all-purpose flour for a dense center. Weigh flour or spoon-and-level to avoid packing too much, which causes cakiness. Sifting dry ingredients helps keep lumps out and ensures even mixing.
| Ingredient | Purpose | Typical Amount | Effect on Texture |
|---|---|---|---|
| Natural cocoa powder | Primary chocolate flavor | 3/4 cup + 2 tbsp (75g) | Bright, classic chocolate; sharp depth |
| Dutch-processed cocoa | Mellow chocolate tone | Substitute equal weight for natural | Rounder, less acidic flavor |
| 100% butter | Fat for mouthfeel and richness | As recipe directs (melted) | Silky, rich crumb and flavor |
| Granulated sugar | Sweetness and shiny crust | Varies by recipe | Shiny, crinkly top; moisture retention |
| Brown sugar | Moisture and chew | Use part or all in some recipes | Chewy edges; deeper caramel notes |
| Eggs | Structure and sheen | 2–4, depending on formula | Sets the brownie; glossy crust |
| All-purpose flour | Binding, minimal to stay fudgy | 1/2 cup (65g) for fudgy result | Less flour = denser, fudgier center |
| Optional mix-ins | Texture and flavor contrasts | 2/3 cup (80g) chopped nuts or chips | Crunch or pockets of melted chocolate |
Kitchen tools and equipment that make baking easy
Choose tools that simplify steps and reduce mistakes. The right tools make your prep easier, improve your technique, and keep textures intact. Here are some compact, reliable options for making perfect brownies every time.
Best pans: metal 8-inch vs. 9×13 for scaling
For the first batch, use a metal 8-inch pan. It ensures the right thickness and bake time. Metal pans heat up faster than glass, giving you crisper edges and a shiny top.
When you increase the batch size, switch to a 9×13 pan. You’ll notice a difference in depth and bake time. If you use glass or ceramic pans, lower the oven temperature by 15–25°F. Also, watch for set edges.
Parchment, spatulas, and a good saucepan for melting
Line your pan with parchment paper for easy lifting and cleaner slices. Use metal binder clips to keep the paper tight while pouring batter.
For melting butter and chocolate, a large saucepan is best. It reduces dishes and helps keep the mixture emulsified. A wooden spoon or silicone spatula is great for folding in flour gently and scraping the pan.
Optional: mixer, thermometer, and kitchen scale for accuracy
A handheld mixer can speed up whisking, but whisking by hand gives you more control. Use a kitchen scale to weigh flour and cocoa for consistent results. Weighing is better than volume measures for accuracy.
An instant-read thermometer is useful for checking butter or melted chocolate temperature. For neat slices, use a thin-bladed knife and a hot-water wipe method after the brownies rest.
| Tool | Why it helps | Tip |
|---|---|---|
| 8-inch pan (metal) | Delivers original thickness and faster, even heat | Line with parchment paper and clip corners |
| 9×13 pan | Scale batch size; yields slightly thicker or thinner bars depending on batter | Adjust bake time and watch edges for doneness |
| Stainless saucepan | Direct melting for butter and chocolate with control | Melt on low or use double boiler to avoid scorching |
| Kitchen scale | Improves accuracy and repeatability | Weigh ingredients instead of packing cups |
| Mixer | Saves time when whisking eggs and sugar | Optional: stop at glossy ribbon stage to avoid overbeating |
| Parchment paper | Makes lifting brownies easy and prevents sticking | Trim edges for a snug fit and cleaner bake |
| Offset spatula & wooden spoon | Helps spread batter and emulsify flour into fat | Use vigorous folding to prevent greasy separation |
| Instant-read thermometer | Checks melt temperatures and oven variance | Keep it on hand to monitor chocolate and butter |
Step-by-step method for the best brownie recipe
First, decide if you want to use melted chocolate or cocoa. For melted chocolate, melt butter and semi-sweet chocolate together until smooth. If you like cocoa, melt butter and then mix in cocoa to enhance the flavor.
Next, whisk eggs and sugar until they’re light and thick. You can use a hand mixer or whisk by hand. This step makes the brownies shiny and glossy.
Then, mix the hot chocolate into the eggs slowly. Add warm chocolate to the eggs while whisking, then mix well. This keeps the eggs from cooking and makes the batter smooth.
Now, gently fold in flour and cocoa. Use a wooden spoon to mix until just combined. Don’t overmix to avoid a cakey texture. This way, the brownies stay fudgy in the center and chewy on the edges.
Lastly, add mix-ins like nuts or chocolate chips. Fold them in gently to distribute them evenly. This ensures every bite has a good mix of flavors.
Put the batter in a lined pan and smooth the top. For an 8-inch pan, bake for 20–25 minutes. A 9×13 pan takes 30–40 minutes. Check if the edges are set and a toothpick comes out with moist crumbs.
Let the pan cool on a rack for at least 30 minutes before cutting. Cooling helps the brownies set and gives cleaner slices. For firmer slices, chill them in the fridge for a bit.
| Step | Action | Why it matters |
|---|---|---|
| 1 | Melt butter and chocolate or butter with cocoa | Warm fat dissolves sugar and intensifies chocolate flavor for a shiny top |
| 2 | Whisk eggs and sugar until pale | Incorporates air and helps create a glossy base and thin crust |
| 3 | Temper and combine warm chocolate with eggs | Prevents curdling and yields a smooth, emulsified batter |
| 4 | Fold flour and cocoa gently | Controls gluten; keeps brownies fudgy not cakey |
| 5 | Stir in mix-ins | Adds texture and flavor without overworking the batter |
| 6 | Bake and watch baking cues | Edges set, center slightly underdone, toothpick with moist crumbs is ideal |
Baking tips to guarantee a shiny crust and fudgy center
You want brownies with a glossy top and a dense, fudgy middle. Small changes in technique matter. Warm ingredients and careful mixing set the stage for shiny crust brownies that cut clean yet stay gooey.
Why dissolve sugar and warm ingredients matter
Start by melting butter and chocolate together. Stir in the sugar while the mixture is warm. This heat helps dissolve sugar into the aqueous phase, creating a thin, crackly top.
Room-temperature eggs speed sugar dissolution when you beat them with the warm chocolate. This creates a glossy, emulsified base.
Temperature and time: lower temp for even fudginess
Bake at a modest baking temperature to let the center set without drying. For an 8-inch pan, 325°F is a reliable target. Lower heat gives the interior time to come up to the right texture while the edges finish first.
Don’t overbake: carryover cooking as brownies cool
Remove brownies when the edges are set and the center looks slightly wet. A skewer with moist crumbs is the sign you want. Carryover cooking will firm the center as the tray cools, so resist leaving them in the oven until they look fully done.
Vigorously whisking the flour into the glossy batter until it shines helps emulsify fats and prevents a greasy surface. Avoid overmixing after adding flour to keep crumbs tender and dense. Line your pan with parchment and plan on cooling for about 30 minutes before slicing to let textures stabilize.
Use quality chocolate like Ghirardelli or Valrhona for deeper flavor and a smoother melt. Check at 25–28 minutes when baking in an 8-inch pan. If you follow these cues — dissolve sugar, watch baking temperature, and don’t overbake — you’ll end up with reliably glossy, fudgy brownies.
Variations and add-ins for richer brownies
Start with a basic brownie recipe and add simple upgrades for new flavors and textures. You can make them nutty, add spreads, or make them gluten-free. It’s easy and fun.
Try salted almond brownies by adding toasted, chopped almonds to the mix. They add a nice crunch and balance out the sweetness. For a chewier treat, mix in 2/3 cup of chopped walnuts or pecans.
Swirls can make plain brownies festive. Just drop caramel or peanut butter on top and use a skewer to create patterns. Add chocolate chunks or candy bits for extra flavor and texture.
Need gluten-free brownies? Try flourless brownies for a rich, chocolatey treat. Or, use a gluten-free flour blend in the basic recipe. Just remember, bake time might change.
For thicker brownies, add a bit more flour and watch the bake time. Single-serve brownies in a mug are great for quick treats. Just bake or microwave them for a short time to keep them gooey.
| Add-in | Quantity (per 9×9 pan) | Effect on Texture | Bake Time Notes |
|---|---|---|---|
| Salted almonds (chopped) | 2/3 cup (80 g) | Crisp crunch, savory balance | No change; fold in before baking |
| Caramel swirls | 6–8 tbsp soft caramel or dulce de leche | Sticky ribbons, gooey pockets | Drop and swirl on top; may need +2–4 min |
| Peanut butter ribbons | 4–6 tbsp creamy peanut butter | Creamy ribbons, richer mouthfeel | Warm slightly to swirl easily; watch for browning |
| Chocolate chunks or chips | 2/3 cup (80 g) | Melty pockets, extra chocolate depth | Fold in; no bake time change |
| Flourless option | Omit flour; use 3–4 whole eggs + 8 oz chocolate | Dense, very fudgy center | Shorter bake; reduce by 5–10 min and cool fully |
| Gluten-free blend | 1:1 substitution for all-purpose | Similar texture when blended well | May need +2–3 min; test with toothpick |
Storage, freezing, and serving suggestions
Let your brownies cool completely before you package or cut them. For quick snacks, keep them in an airtight container on the counter for up to 2–3 days. If you need longer shelf life, move the container to the refrigerator. Brownies will stay fresh up to two weeks there.
To freeze brownies, wrap each square tightly in plastic or parchment. Then, place them in a sealed freezer bag or tin. You can freeze up to three months when wrapped well. Wrap each piece for gifting so you can thaw single servings without exposing the rest.
When reheating brownies for a gooey center, use short bursts in the microwave—about 8–12 seconds for one piece. Or, warm them briefly in a 300°F oven for a few minutes. A hot knife gives cleaner slices when portion brownies. Refrigerating for 1–2 hours before slicing helps achieve neat edges.
For serving brownies at a party, arrange squares on a platter with small labels for any add-ins. Warmed brownies are more indulgent when paired with vanilla ice cream or a dusting of powdered sugar. If you reheat brownies from frozen, thaw at room temperature for 30–60 minutes before a quick warm-up.
Portioning for sharing or gift brownies is easiest when you lift the whole slab out on parchment. Then, mark cuts before slicing. Wrap each square individually in parchment and place them into an airtight tin or box. Frozen, wrapped slices travel well and make for tidy, thoughtful presents.
Troubleshooting common brownie problems and fixes
If your brownies didn’t turn out right, a few simple fixes can help. Here are quick checks and adjustments for texture, topping, and shine. Your next batch will look and taste better.
Dry or cakey brownies
Too much flour or baking them too long makes them cakey. Use a digital scale or the spoon-and-level method to measure flour. For an 8-inch pan, aim for about 1/2 cup of flour.
Take brownies out when the edges are set and the center is slightly wet. They will cook a bit more as they cool. This is a simple fix for dry brownies.
Greasy top or separation
A greasy top often means the fat separated from the batter. Start by whisking sugar and eggs until glossy. Then, mix in warm melted butter and chocolate vigorously.
If the batter looks separated, stir it vigorously with a spoon or whisk. Avoid overmixing after adding flour to prevent cakey brownies.
No shiny crust
A dull surface usually means the sugar didn’t dissolve in the eggs. Whisk sugar into eggs first, then add warm melted chocolate. This helps the sugar dissolve and creates a shiny top.
Don’t use oil if you want a shiny crust. Oil can make the brownies greasy and prevent shine. Skip chemical leaveners for a fudgier texture.
Below is a quick comparison you can use at the bench when diagnosing a failed tray.
| Problem | Likely Cause | Simple Fix |
|---|---|---|
| Dry or cakey brownies | Too much flour; overbaked; too much leavening | Weigh flour; remove when center is slightly wet; omit baking powder/soda |
| Greasy top or separation | Fat separated from egg-sugar mix; cooling chocolate added too quickly | Whisk eggs and sugar first; mix warm chocolate into eggs; re-emulsify by stirring |
| No shiny crust | Sugar not dissolved; cold eggs; oil used instead of butter | Whisk sugar into room-temp eggs; add warm chocolate to dissolve sugar; use butter |
| General texture issues | Overmixing after flour; uneven oven heat | Fold gently; rotate pan mid-bake; use an oven thermometer |
Conclusion
You can make the best brownie recipe with just a few steps. Start by choosing quality cocoa or melted chocolate. Then, measure everything carefully.
Make sure to dissolve sugar with warm ingredients. Also, mix butter and eggs well to get that shiny crust. These steps make all the difference.
Follow an easy recipe tempo: mix gently and avoid overbaking. Bake at a controlled temperature (325–350°F) based on your pan size. Let your brownies cool or chill fully before slicing.
This way, the texture sets, and your brownies have clean edges and glossy tops. This method is tested and works well for families who prefer real chocolate over mixes.
With basic equipment and a reliable method, you’ll get great results every time. Your Chocolate Brownies will taste like you really cared about making them.